Why is my WiFi network not showing up?
If your WiFi network is not showing up on your Windows 11/10 device, make sure the Wi-Fi on the device is enabled. This could be a physical switch, an internal setting, or both. Also, try to reboot the modem and router. Another solution is power-cycling the router and modem can fix internet connectivity issues and resolve problems with wireless connections.
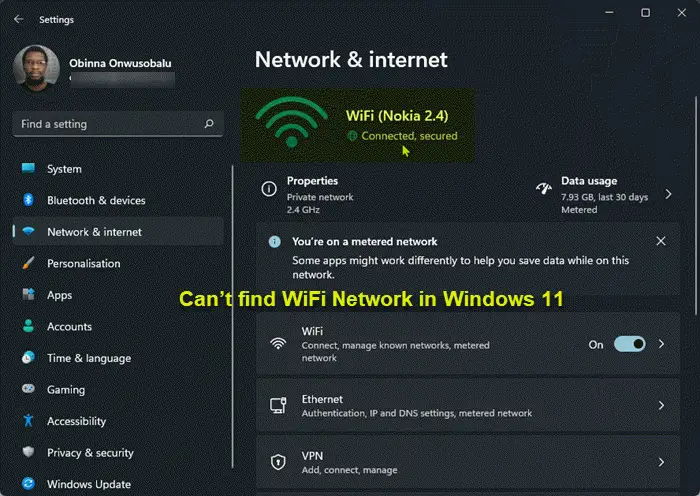
WiFi option not showing in Windows 11
If you can’t find the WiFi Network in Windows 11, you can try our recommended solutions below in no particular order and see if that helps to resolve the issue. Let’s take a look at the description of the process involved concerning each of the listed solutions.
1] Run Internet Connections Troubleshooter
You can begin troubleshooting the can’t find WiFi Network in Windows 11 issue by running the Internet Connections Troubleshooter. The wizard can help diagnose and fix Wi-Fi problems on your device. To run Internet Connections Troubleshooter on your Windows 11 device, do the following:
Press Windows key + I to open Settings app.Navigate to System > Troubleshoot > Other troubleshooters.Under the Most frequent menu, find Internet Connections.Click Run.
If after this action the issue is unresolved, try the next solution.
2] Update/Reinstall Network Adapter drivers
This solution requires you to update the network adapter drivers. You can either update your drivers manually via the Device Manager, or you can get the driver updates on the Optional Updates section under Windows Update. You may also download the latest version of the driver from the network adapter hardware manufacturer’s website. If updating the drivers didn’t help, you can uninstall the network adapter driver, restart your Windows 11 PC and your system will automatically reinstall the generic drivers for the network card.
3] Enable Connect automatically when in range
To enable Connect automatically when in range on your Windows 11 device, do the following:
Open the Settings app.Go to Network & Internet menu.Select Wi-Fi > Wi-Fi connection properties.Check the Connect automatically when in the range option.Exit Settings.
See if the issue at hand is resolved. If not, try the next solution.
4] Forget and Reconnect Wi-Fi
Do the following:
Click on the Wi-Fi icon in the Windows Taskbar.Expand the Wi-Fi menu.Right-click on the Wi-Fi name.Select Forget.
Now, try to connect to the same Wi-Fi connection with the credentials.
5] Reset Network Adapters
This solution requires you to reset the network adapter settings. Here’s how:
Open Settings app.Go to Network & Internet Scroll down and click Advanced network settings.Next, scroll down again and click Network reset.Click Reset now.
This will reinstall network adapters and reset core network components to their default state. If the issue is still unresolved, try the next solution, Read: W-Fi or Wireless capability is turned off in Windows
6] General fix for WiFi issues on Windows
This guide will show you how you can troubleshoot WiFi problems on your Windows 11 PC.
7] Fix WiFi issues after an upgrade
This guide will show you how you can troubleshoot WiFi does not work after installing Windows Update or Feature Upgrade on your Windows 11 PC.
How do I forget a network on Windows 11?
Whenever you connect to a network, Windows will autosave the passwords and other connection data so that you can log back into it again when it is within range. If you want to forget a Wi-Fi network on Windows 11, you can follow these instructions: Click on the Wi-Fi icon in the Action Center (towards the right of the Taskbar). Click on the arrow (chevron) next to your Wi-Fi. Right-click on a Wi-Fi network that you’ve connected to before and select Forget. Related post: Surface device finds available wireless network but won’t connect.