StartupCheckLibrary.dll is an official Microsoft Windows system file that is located in the C:\Windows\System32 folder. If it is located elsewhere, it could be malware.
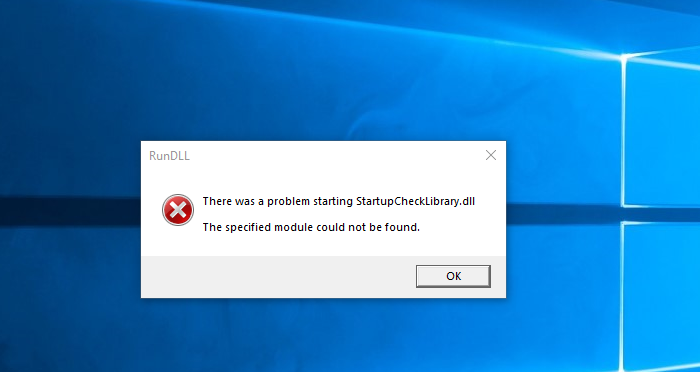
There was a problem starting StartupCheckLibrary.dll
Now since Windows is unable to find the module, it could mean that the file has gone missing, has been deleted or has become corrupted. Here are some suggestions that will help you move forward.
Check if your Antivirus has quarantined the file.Run SFC CommandDisable StartupCheckLibrary.dll entry from the Startup
You will need administrative permission to resolve this missing DLL file issue.
1] Check if Antivirus has quarantined the file.
If you are using Windows Security, open it, go to the Virus and threat protection section, and click on the Protection history link. It will list the files, and if you find the StartupCheckLibrary.dll. There can be two situations here. First, the DLL has been marked as Trojan/Virus, and- Disconnect from the internet and go to the Windows Defender Quarantine section, You will see the file quarantined there. Click on See details, and check the file path.
If it was from the System 32 folder you may click the Restore button.If the path is shown as something else, it could be malware and it is best to let it remain there.
and click remove the file from the quarantine. The file will be placed back in its original place. Now if the file is legit, then it could get removed again, and for that, you will need to add an Exclusion. Once it is detected again, you can click on the Action button and then move it to the Allowed Threats section.
If it was marked as a virus, then you will need to delete it.
2] Run SFC Command
SFC or System File Checker command can scan Windows and replace any corrupted or missing system files. Follow the steps below:
Open Command Pr0ompt with elevated privileges.Type SFC /scannow, and hit Enter.Let it complete its job.It is possible that the process may repair other files as well.
Once through this, you should not receive this error.
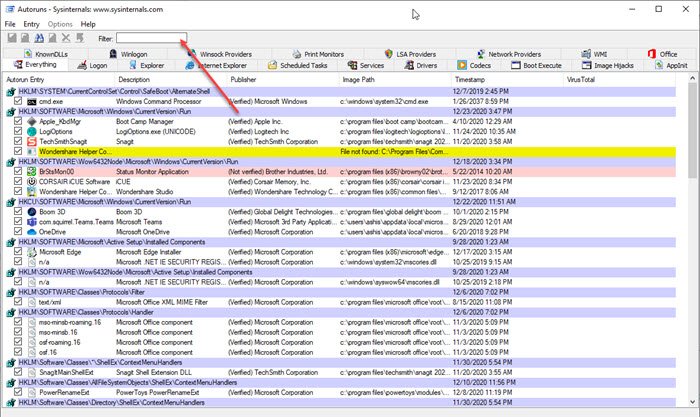
3] Disable StartupCheckLibrary.dll entry from the Startup
If none of these work, the DLL is infected, and you still get the error; the last option is to disable or remove it from the startup entry. While Windows allows removing applications, it is not easy to remove a DLL. That is where the Autoruns program from Microsoft comes into the picture. Autoruns is a powerful utility that can locate anything which is supposed to run when Windows starts and the user logs into the account. Once you download the utility and run it, you can search with the DLL name. Once it appears in the list, you can uncheck it. It will make sure you do not get the error. I hope the post was easy to follow, and you were able to resolve the issue with starting StartupCheckLibrary.dll.